THE COMPACT DISC not only quickly deep-sixed the vinyl phonograph record, it also emerged as the favored means of program distribution for software companies. Now, as the technology for home CD recording dips below the $2,000 mark, it's possible to start creating your own discs.

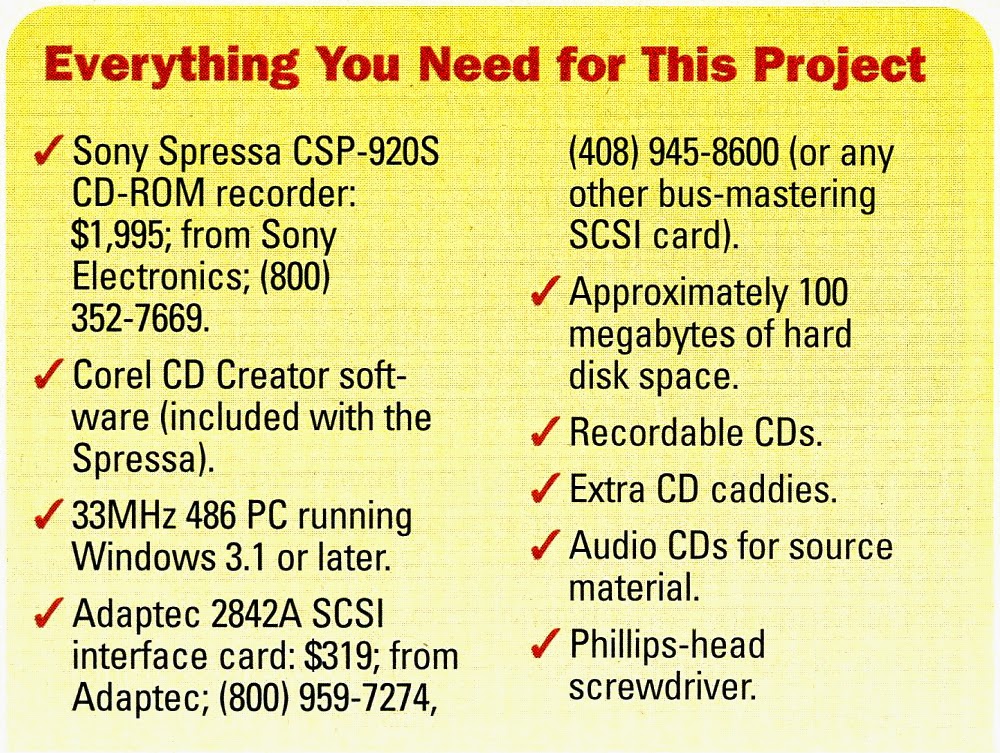
A more obvious benefit of this technology is that you can store data files on a CD. The Sony Spressa CSP-9205 CD-ROM recorder is capable of multisession writes and reads, so that you don't have to put all your data on it at once. When you’re recording audio, however, it’s a one-shot process. That’s why it’s important to make sure you have the right hardware to support fast data transfers.
First, you need a large hard disk. Although a CD-ROM is capable of storing 650 megabytes worth of data, you only need that much space if you’re planning a really large, all-at-once backup. For recording music, the software that comes with the recorder moves information to the hard disk one track at a time. Typically, for a 6-to 8-minute song, you’ll need 60 to 80 megabytes (about 10 megabytes per minute).
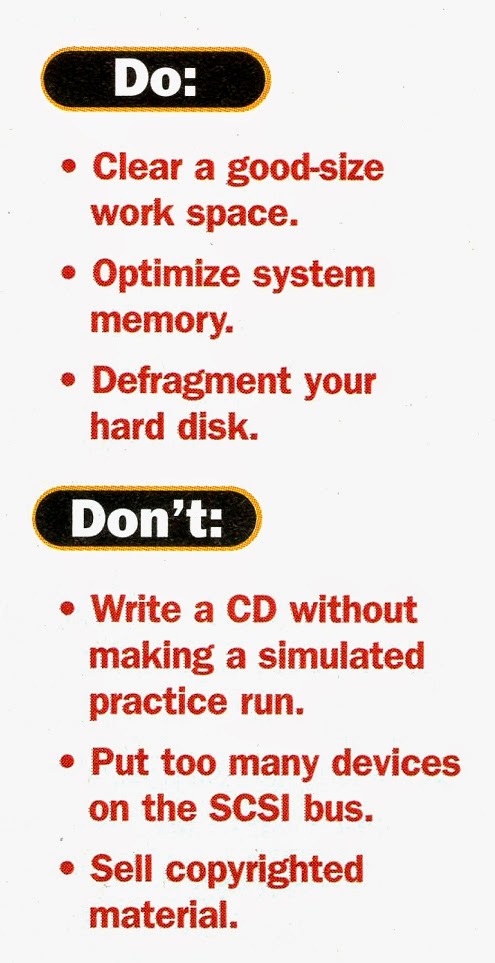
 Don’t put your hard disk on the same SCSI bus as the CD recorder. I lucked out: I have an Enhanced IDE (E-IDE) drive on its own controller. I tried running the Spressa off the SCSI port of a sound card, but that didn’t provide the data transfer speed needed. Corel, which makes the CD Creator software that comes with the recorder, recommends a fast local-bus card. I got one that plugged into a local-bus slot on my motherboard. Once it was in, data transfer rates zoomed.
Although you can plug headphones into the CD recorder’s front-panel jack, I still used the computer’s sound card to listen to CD audio. As it turned out, that sound card paid off as I got deeper into the project: I used it to transfer the cuts as WAV files to the hard disk where I did the editing. The software also happily mixes WAV files with the tracks from the source CDs, so you can even narrate your compilation.
 If you record WAV files through your sound card, be sure to sample them in 16-bit stereo at 44.1 MHz, otherwise the audio quality will suffer. Also be aware that not all CD recorders function as full-featured readers, but the Sony Spressa is also a double-speed reader that offers digital music extraction, which is essential to this project.
Once you get beyond the hurdle of purchasing the CD recorder, this is very simple technology to master. And it’s extremely satisfying to know that your work—music or data—is enshrined on that nearly indestructible disc. CD recorders are already making their way into offices, so I suspect it won’t be long before they become commonplace in the home.
Install a SCSI interface card
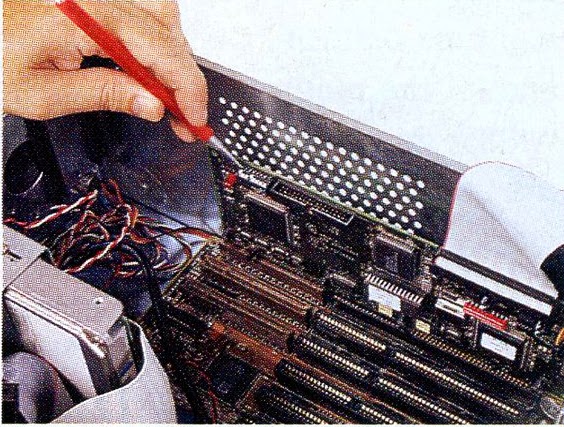 First, clear a work space. Then unplug your computer and remove its cover. Skip the rest of this step if you’re satisfied with your SCSI hardware. I needed an upgrade, so I put in an Adaptec 2842A SCSI card to give me a speedy data channel for the CD-ROM drive. Start by plugging in the data cable, making sure the colored edge of the ribbon cable is connected to Pin 1 on the card. A bank of eight DIP switches controls the card’s configuration, and they’re all turned off by default. Disable the card’s floppy drive controller by turning on Switch 5. Because you don’t need to use the card’s BIOS, turn Switch 8 on to disable it. Then find a slot for the SCSI card. The Adaptec 2842A needed one of the three local-bus slots on my motherboard, so I removed the philips-head screw that holds the slot cover against the case and pushed the card gently but firmly so that each of the tongues at the bottom made contact. It often helps to hold the two ends of the card and rock it back and forth lengthwise until it settles into the slot. Replace the screw.
Install the Spressa CD-ROM recorder

Make the SCSI connection
Put the cover back on your machine, plug it in, fire it up, and run Windows. If you are using the Adaptec 2842A SCSI card, as I did, put Disk 1 of the Adaptec EZ-SCSI set in drive A:, pull down the File menu, choose Run, and type A:SETUP. (Otherwise, check with Corel to make sure the drivers for your adapter will work. CD Creator comes bundled with several compatible SCSI drivers.) Because my hard disk is an E-IDE drive and my tape backup has its own interface card, I chose a custom setup and deselected the options for hard disk and tape support. The program will identify your SCSI card and CD-ROM machine and install the appropriate drivers in your CONFIG.SYS and AUTOEXEC.BAT files. But it’s not optimized for a CD-ROM recorder. When the program finishes its installation, put the Corel CD Creator disk in drive A:; go through the File, Run, A:SETUP routine again; and select the defaults. When offered the choice of ASPI drivers (which tell the SCSI card how to handle its devices), click on Keep Existing ASPI Manager. CD Creator will add CORELCDX.EXE, its own CD-ROM extensions, to your AUTOEXEC.BAT file. When the installation is finished, reboot your system. Your CD-ROM recorder will now be assigned the next sequential drive letter; in my case it became drive D:.
Install the CD Creator program
With Windows running, place the CD Creator disc in a caddy and insert it in the Spressa drive. Pull down the File menu, choose Run, and type D:SETUP. Confirm the installation defaults, and let the program add necessary lines to your WIN.INI and SYSTEM.INI files—it makes backups of the existing ones, just in case.
Test your system setup
Exit Windows and restart it to make sure the changes take effect. Open the Corel Multimedia program group and double-click on the CD Creator icon. When you start the program for the first time, it offers to run system tests. Choose the Perform All Tests button, and put an audio CD in a CD-ROM caddy and insert it into the Spressa drive when prompted. This will confirm that your CD-ROM recorder is capable of digital audio extraction. Hard disk transfer speed is tested next, followed by test runs on the CD recorder. Put a recordable disc in the caddy, and insert it in the drive when prompted. The software will test data and audio recordings at double speed and regular speed. Hint: If you want to run the system tests again, pull down CD Creator’s File menu and choose the System Tests item.
Enter the tracks you’ll be copying

Do a test run

Record it for real

Copy data to a CD-ROM

— Computer Life, October 1995
No comments:
Post a Comment